How To Setup - Selenium 2.0(Webdriver), JDK, TestNG, ANT on Windows
I have written similar post for Selenium1, now it is updated to Selenium2(Webdriver)
Selenium setup checklist
1. JDK
2. ANT
3. Eclipse IDE
4. Eclipse TestNG
5. Selenium
6. How to create selenium project in Eclipse IDE
7. How to execute code in eclipse IDE using TestNG
Select following link to for Selenium full-fledged implementation.
Note: You need to have admin privileges to install few software's.
1. JDK
Download from http://www.oracle.com/technetwork/java/javase/downloads/index.html

JDK is machine and OS dependent, Check whether your machine is 32 OR 64 Bit.
How to Check?
Programs -> Accessories -> System Tools -> System Information


Check whether it is installed correctly?
Type java -version at the command prompt, you should see the version related info.
2. ANT (Optional, required to build standalone jar files and scheduling the run)
Download from http://code.google.com/p/winant/

It is a self installable exe file, located the java JDK directory during installation.
Logoff and login for complete installation.
Check whether it is installed correctly?
Type ant - version at the command prompt, you should see the version related info.
3. Eclipse IDE

It is not required to install this software, just run the exe file to open the editor.
4. Eclipse TestNG
Inside the eclipse, select Help - > Eclipse Market Place
Search for TestNG and install directly into IDE.

5. Selenium
Download from http://code.google.com/p/selenium/downloads/list
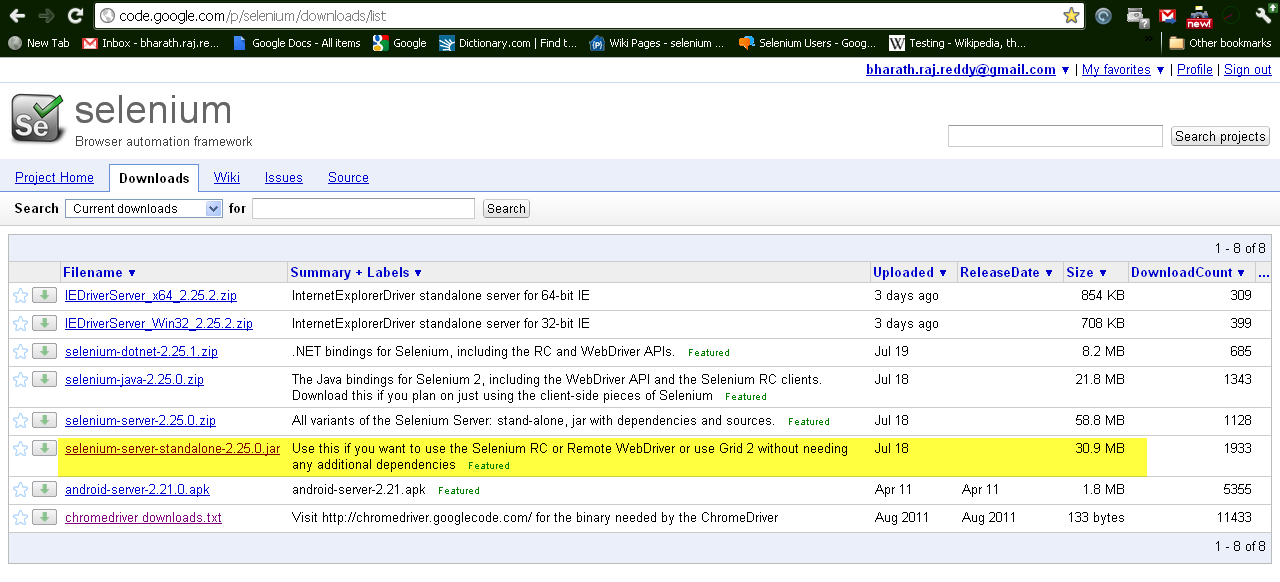
Download Selenium-Server-Standalone-xxx.jar, it is a single jar file and easy to manage.
7. How to create selenium project in Eclipse IDE
Open the Eclipse IDE by selecting eclipse.exe file.
Select File->New -> Java Project

Enter project name and hit “Next”

Select “Finish”
Now you will see the project name "MyFirstProject" in the “Package Explorer” window.
Right click on the project name and create “Package”

Click on finish after typing the package name "Selenium".

In the package explorer, right click on the package name “Selenium” and select “Configure Build Path”.

Add downloded JAR files showed in the below screen by selecting “Add external jar” button.
You will not be able to run your test without this file, it contain the all the Selenium methods.

Now, right click on the package "Selenium" and select class

Enter class name “Test” and select Finish.


You will notice a new class is created in the package explorer.
In the same way create classes as per your requirement and place necessary code.
8. How to execute code in eclipse IDE using TestNG
Copy the code from the below link and execute the test by selecting the "Play" button.
http://bharath-marrivada.blogspot.com/2011/07/selenium-testng-parameterization-excel.html
http://bharath-marrivada.blogspot.in/2012/06/selenium2webdriver-startiefirefoxchrome.html

If you still see any errors on the screen, place the cursor over the error code, Eclipse IDE provide auto suggestion on how to resolve the issue.
---


No comments:
Post a Comment